Last weekend, I decided to spend some time tidying up my scrap space.... I have LOTS of well organised spots, but it needed a clean and overhaul.
BEFORE:
Here are some before photos... some MESSY spots, including huge big piles of layouts awaiting action! As you can see from this photos, my scrap space is a shared zone. It is in a central area of our house that would have been the dining room.
:
I have a huge IKEA EXPEDIT bookshelf- housing albums & kids books, which is a room divider to create this space.
My office with computers and paperwork on one side of the room and .....
my scrap space on the other.
AFTER:
Now here are the AFTER PHOTOS, and I will show you how I organise my supplies. I like to be organised - I am certain it makes me scrap more efficiently!
Ah... that's better - tidy and clean!
ON MY DESK:
I have the white Ikea Ribba shelves over my desk - the top shelf for layouts on display
and the bottom shelf for all my mists and distress stains.
I recently got the mini-cube units that are on either side of the desk - I got them from "Masters" hardware store and they are perfect!!!
Shelves over desk showing my growing collecting of mists and distress stains...
This right side cube shelf holds various things including pens, embossing supplies, as well as some small stacked containers with little embellishments like: small chipboard, charms, glitter, beads, etc.
This left side cube shelf holds my 6X6 paper pads (need a bigger better box for this!), my favourite wooden and acrylic stamps, as well as my Canon Selphy photo printer.
This is "Bob", he clips on the front of my desk. It's my rubbish bin, plus I put my glues in the holder. Old teatowel handy for messy stuff!
Common tools and bits go into this simple pen holder that I got from Kmart. I put it on a plastic lazy susan, as it is way easier to access the stuff when I can spin it around. My tapes hooked on top and heat gun right there, ready to go!
These embellishment boxes sit in the middle of my desk and are well used! And some of my favourite bits go in the boxes on the right - my Rainbow Splendour and Charm Creations goodies!
So these embellishment boxes are my MOST favourite thing.... I have colour sorted all my little embellishments and they go in these boxes...
Here is an example of what they look like inside. CRAMMED full of good stuff! It might not look organised, but I have a general system for where I put small flowers, cool embellishments, small tags & diecuts, buttons and flairs.
Colour sorted washi tape goes in these stackable baskets.
UNDER MY DESK:
Under my desk, on either side, are these white IKEA Antonius drawers.
Right side drawers.... and here is what is in each drawer......
Right side - drawer 1 - Small stickers, brads, enamel dots, tags, polaroids and other embellishments - stored in small boxes, stacked and easy to access.
Right side - drawer 2 - These are my colour packs. Again colour sorted embellishments in these pencil cases. These contain tags, diecuts, doilies and all sorts of flat-ish stuff.

Right side - drawer 3 - These old trusty containers that hold my colour-sorted small embellishments. In here you find my sequins (can you guess - yup - they are colour sorted), as well as all those brads & eyelets that I still have in my stash from when I first started to scrap.
{note to self: scrap a layout with some little brads and eyelets}
Right side - drawer 4 - Ribbons - Different coloured ribbons are in snap lock bags. Again it looks messy, but because things are colour sorted, it is pretty easy to find what I need.
Left side drawers.... and here is what is in each drawer......
Left side - drawer 1 - I have my BIG flowers colour-sorted into snap lock bags. Fabric, doilies and tissue paper stored down the back.
Left side -drawer 2 - I have two boxes in here; the front box has colour-sorted alphabet stickers and the back box has all my cool stickers.
Left side - drawer 3 - Here are some of my Thicker Alphas, and in the boxes at the back are other snap lock bags of alphabets (think: chipboard, acrylic, canvas, etc. etc.).
The pink folder at the back has my mini-alphabets.
Left side - drawer 4 - And more Thicker Alphas. And chipboard alphas along the side.
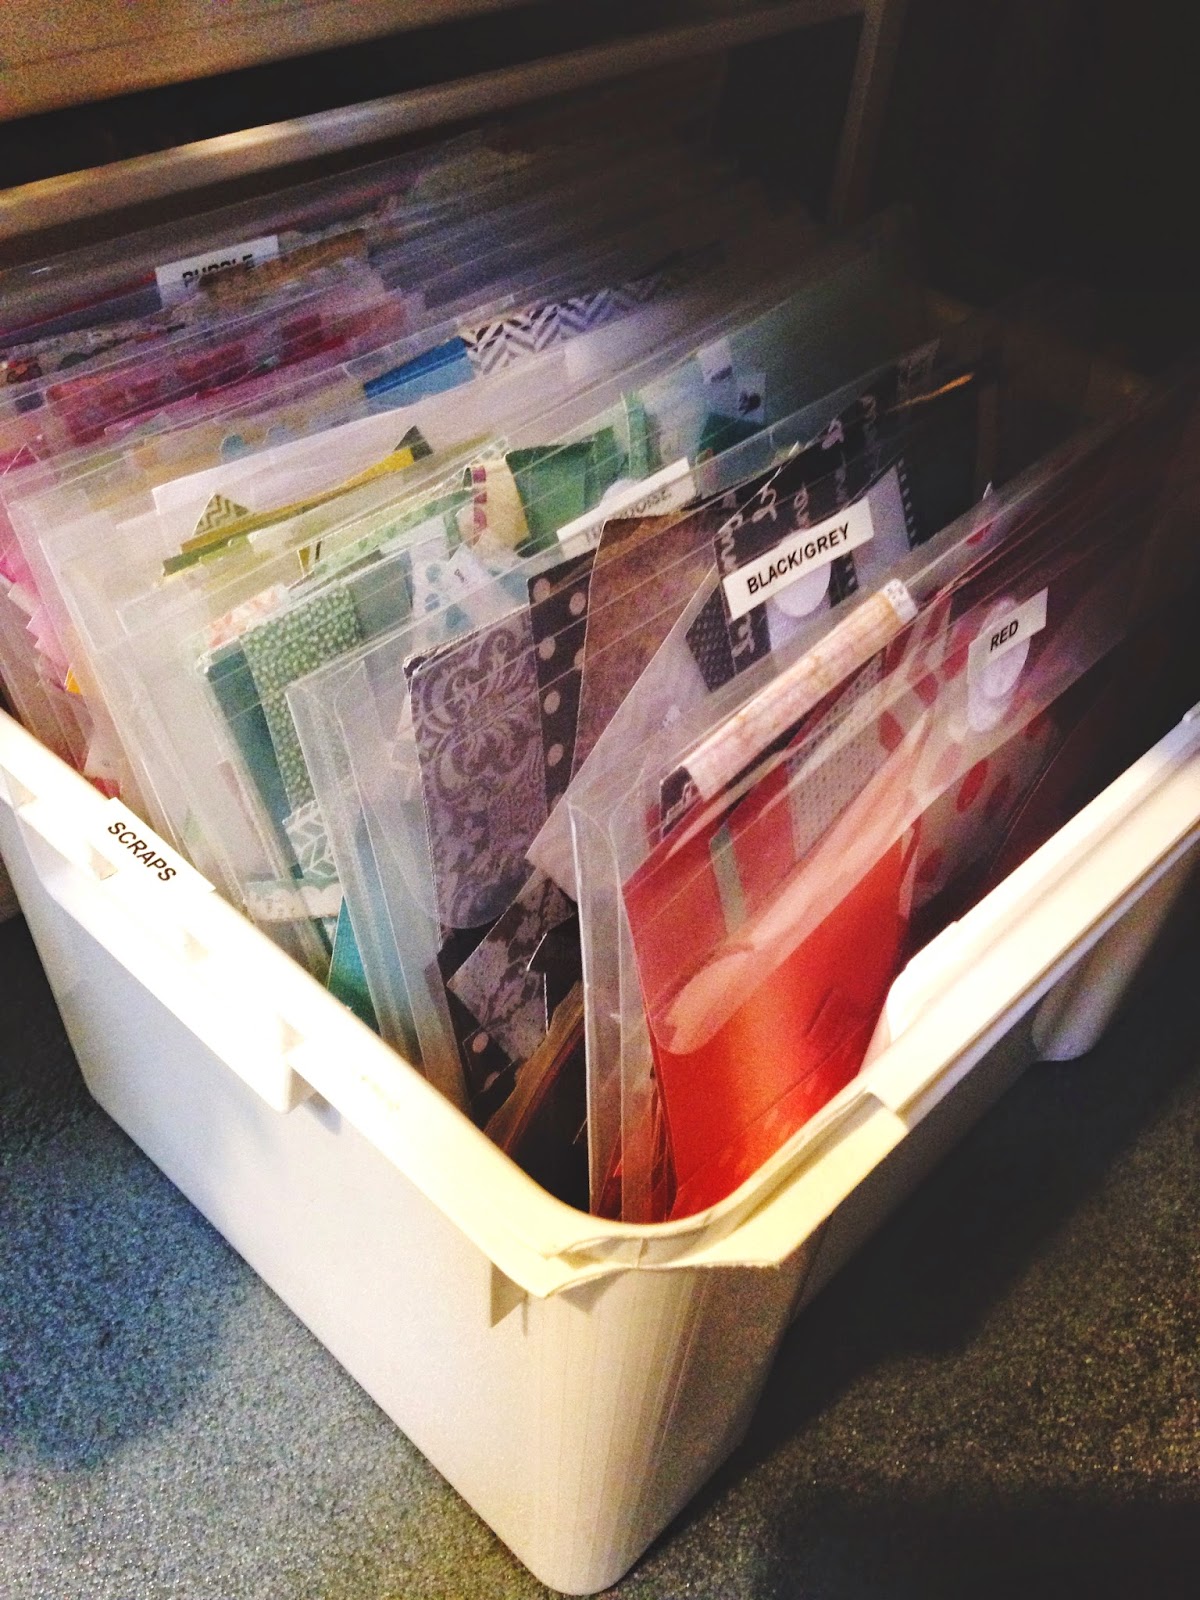
My paper scraps sit in this box at my feet... all in folders for each colour.
TO THE LEFT OF MY DESK:
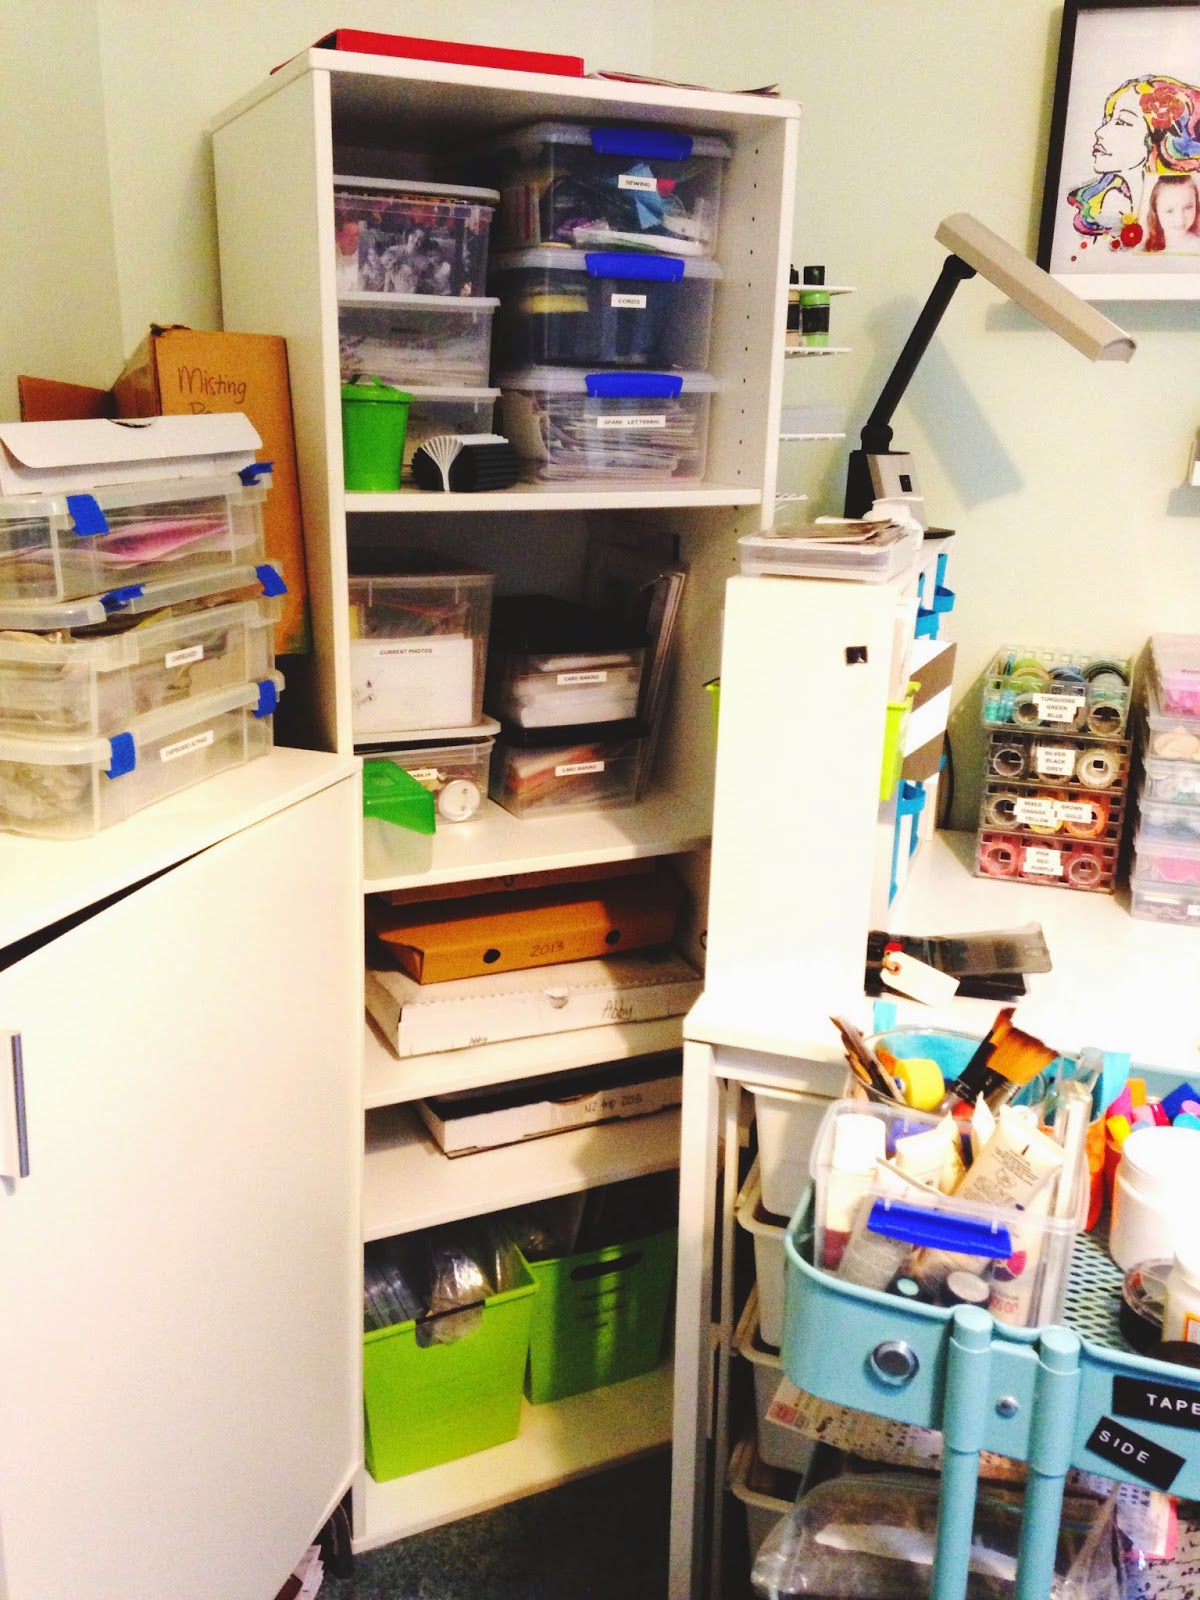
This corner unit holds a whole heap of miscellaneous stuff. EG> photos, card making stuff, memorabilia, sewing kit, layouts, etc. etc.
This white unit has papers and extra stamps. On top used to hold all those completed layouts - but now looks blank and empty and ready to be messed up! The 12X12 plastic boxes has current layouts, and chipboard shapes and alphas. Pizza box with my latest APOCD kit! The shelf above has blue baskets - these hold my punches and spare adhesive and tools. My spare paints and inks are also up there.
These drawer units from Kmart hold all my patterned papers which I have organised by, you know.... colour....!!!
I love my Ikea Raskog trolley, which I wheel around to where I need it. Up top are some of my paints, gelatos and paint tools. In the middle are all my masks. Down the bottom is my "dump" spot - the place where I dump scraps and bits I didn't use - helps me to tidy my space quickly.
This is where I put those finished layouts ... up the top of the shelf, organised in pizza boxes - patiently awaiting to go into albums - like the hundreds of pages before them!
So all is tidy and perfect here.... best I go and create something!
Thanks for looking today!
Amanda


4 comments:
Your space looks amazing! Lots of good ideas for storage! Thanks for sharing! Happy creating!
Great size scrap room! Bit Jelly! Love how organised you are too!
love your scrap room. I have everything in colour order as well. Makes finding things so much simpler!
I really enjoyed reading this! And had fun seeing how you organise your space...thanks for sharing! Now, I might just need to go clear up my room!!!!
Post a Comment